How to Install Range Rover Side Vents
![]()

Tools Needed: 10mm Socket or wrench
Time Required : 30~45 min. for pair
Copyright © 1996-2007
Rover Connection
All Rights Reserved.
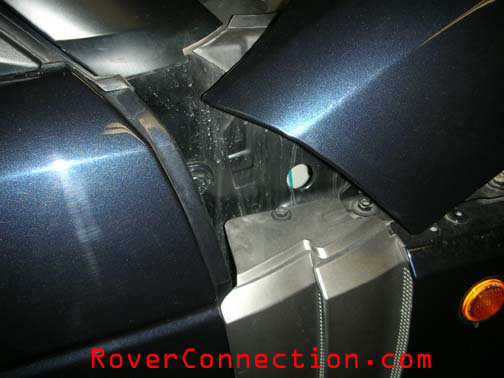
Step 1 Open the hood and locate the screw on the top of the vent. |
 |
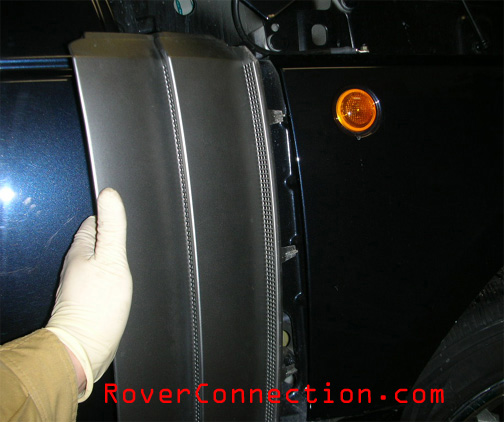
Step 2 Reach the bottom of the lower panel (the panel underneath of the vent) and pull hard towards you. The panel (made of plastic) is flexible and fastened by clips. |
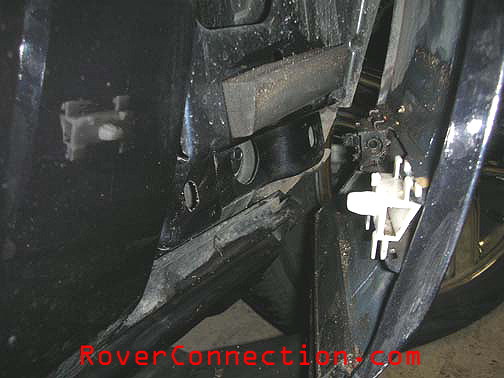 |
Step 3 Do not take off completely. It will make you difficult to put it back. |
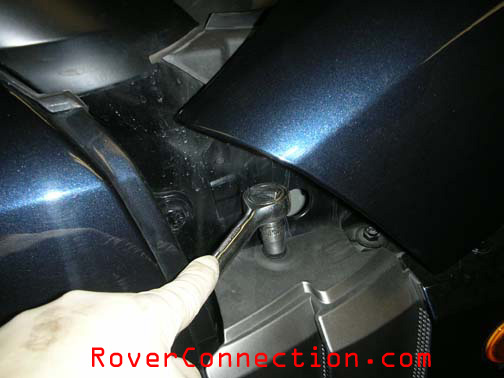 |
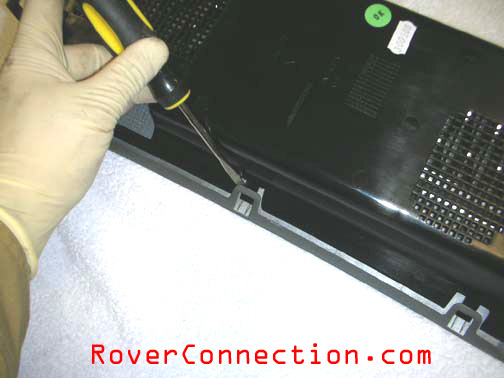
Step 4 Remove the top screws using 10mm socket or wrench. |
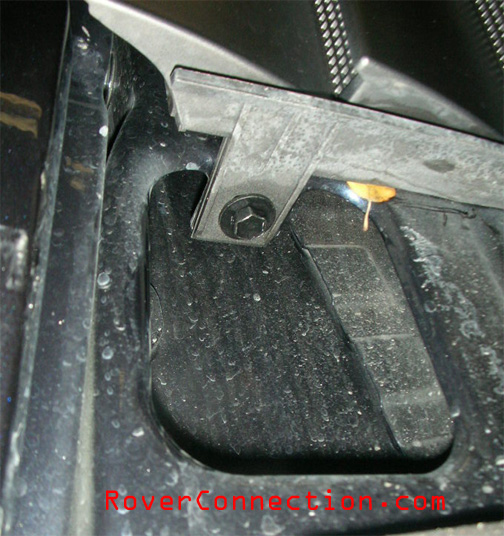 |
Step 5 & 6 Locate the bottom screw and remove it using 10mm socket or wrench. |
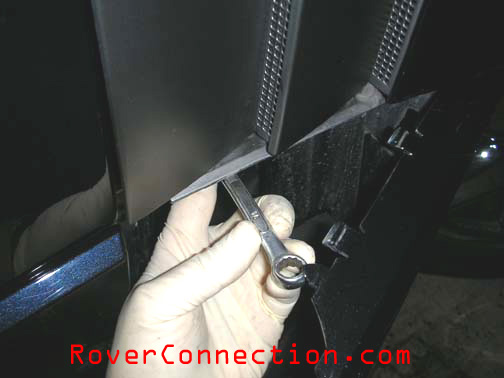 |
Step 5 & 6 Locate the bottom screw and remove it using 10mm socket or wrench. |
 |
Step 7 Remove the vent. |
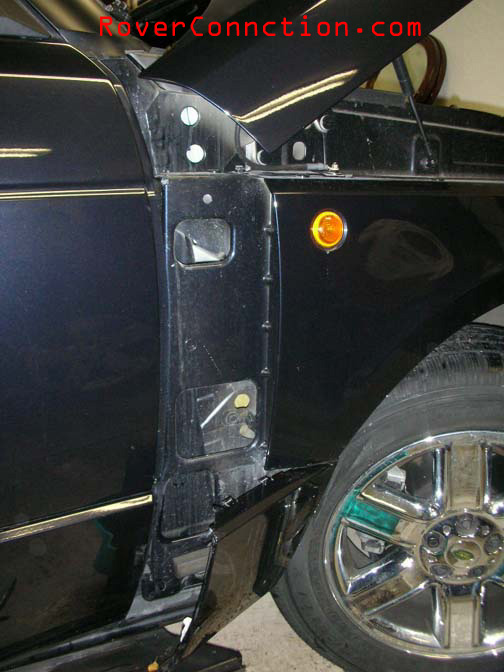 |
Step 8 Removed. |
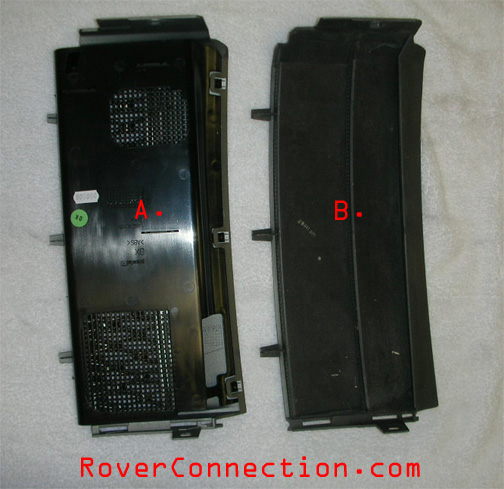 |
Step 9 Compare the new Supercharged (A) and original (B) vent. |
 |
Step 10 Remove the back panel from the Supercharged vents. They would not fit without removal. |
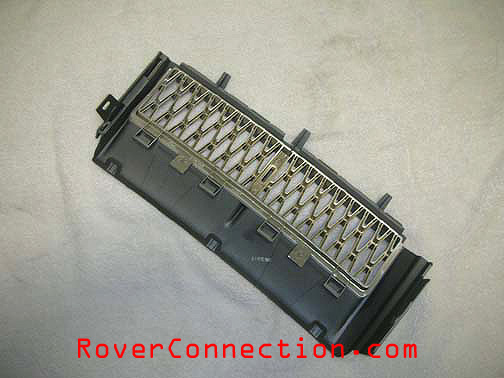 |
Step 11 Back panel is removed. |
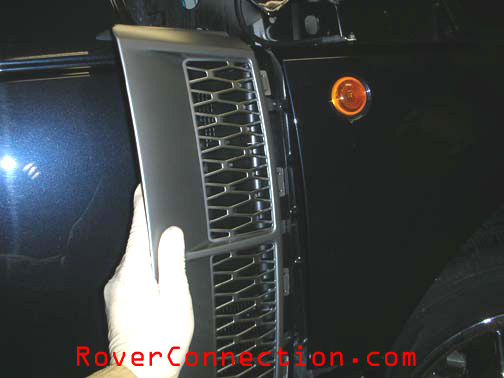 |
Step 12 Install the new Supercharged vent (Installation is a reversal of removal). |
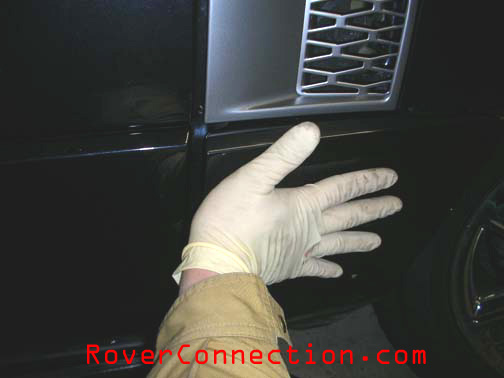 |
Step 13 Push back the lower panel securely. |
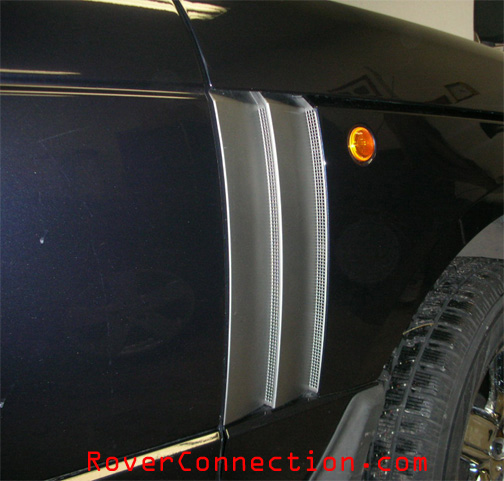 |
Before Old vent with an amber side marker |
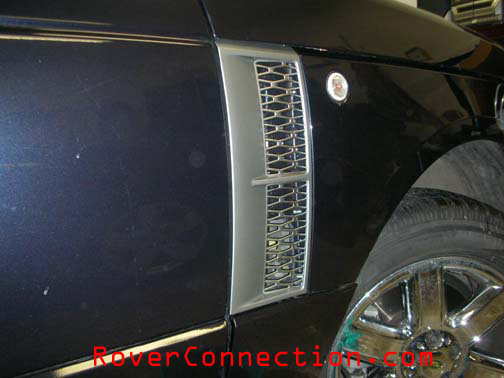 |
After New Supercharged vent with a new clear side marker |
Copyright © 1996-2007
Rover Connection
All Rights Reserved.